Bootstrap Radio Working
Intro
In certain cases the tiny features happen to be actually the highly fundamental due to the fact that the whole entire pic is really a whole incorporating a lot of mini features refined and compiled for show and look as a well-oiled bright machine. Such spicy words might sound a little too much once it comes to create commands but in the event that you just think about it for a bit there is only a single component allowing the visitor to grab one out of a several available alternatives. And so in case you are actually having several forms with this kind of options controls over your numerous web sites does this mean they are going to all look identical? And more essentially-- would you settle for that?
Fortunately for us the latest version of the absolute most well-known mobile friendly system - Bootstrap 4 goes completely loaded having a bright brand new treatment to the responsive activity of the Bootstrap Radio Toggle controls and just what is bright new for this edition-- the so called customized form commands-- a combination of predefined appeals you are able to just involve and use if you want to add in the so wanted nowadays variety in the functional performances of quite boring form items. And so let's take a look exactly how the radio switches are planned to be specified and styled in Bootstrap 4. ( additional info)
Efficient ways to put into action the Bootstrap radio button:
In order to generate a radio button we initially need a
<div>.form-check.form-check-inline.radio.radio-inline.disabledIn the
.form-check<label>.form-check-label<input>.form-check-inputtype = “radio”name = “ ~ same name for all the options ~ ”id = “ ~ unique ID ~ “value=” ~some value here ~ ”disabled<input>This is likewise the area to determine if you wish the radio control to initially load like checked once the web page gets loaded. If this is actually what you are actually after-- as an alternative to
disabledchecked<input>checkedCheckbox and even Bootstrap Radio Working examples
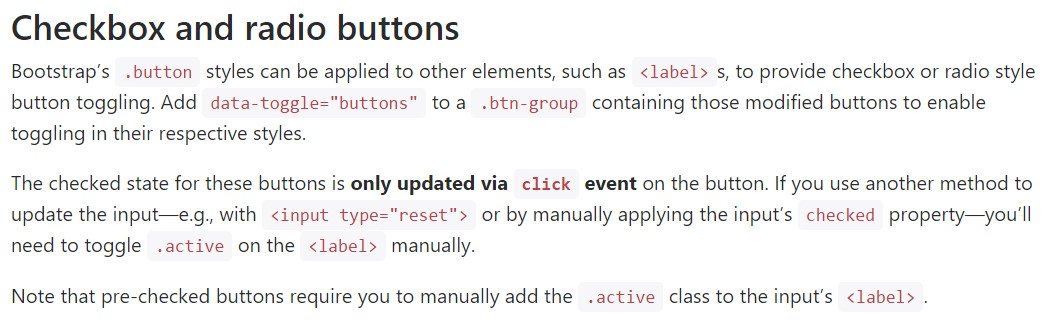
Bootstrap's
.button<label>data-toggle=" buttons".btn-groupNote that pre-checked buttons require you to manually put in the
.active<label>Checkbox

<div class="btn-group" data-toggle="buttons">
  <label class="btn btn-primary active">
    <input type="checkbox" checked autocomplete="off"> Checkbox 1 (pre-checked)
  </label>
  <label class="btn btn-primary">
    <input type="checkbox" autocomplete="off"> Checkbox 2
  </label>
  <label class="btn btn-primary">
    <input type="checkbox" autocomplete="off"> Checkbox 3
  </label>
</div>
Radio

<div class="btn-group" data-toggle="buttons">
  <label class="btn btn-primary active">
    <input type="radio" name="options" id="option1" autocomplete="off" checked> Radio 1 (preselected)
  </label>
  <label class="btn btn-primary">
    <input type="radio" name="options" id="option2" autocomplete="off"> Radio 2
  </label>
  <label class="btn btn-primary">
    <input type="radio" name="options" id="option3" autocomplete="off"> Radio 3
  </label>
</div>
Radio button solution
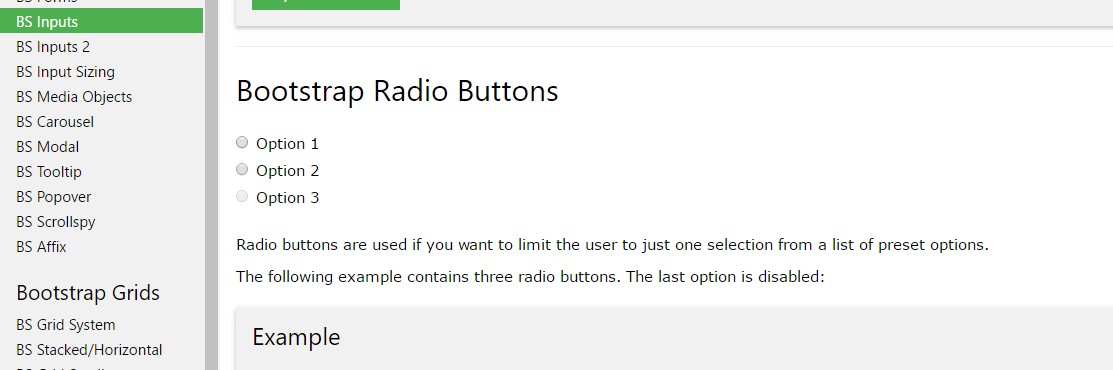
We can easily put to work input components of the radio form anytime we prefer the user to select simply one of a set of options. ( get more info)
As soon as there is more than one particular element of this one style using the exact same value with the name attribute, just one can be selected.

<div class="row">
  <div class="col-lg-6">
    <div class="input-group">
      <span class="input-group-addon">
        <input type="checkbox" aria-label="Checkbox for following text input">
      </span>
      <input type="text" class="form-control" aria-label="Text input with checkbox">
    </div>
  </div>
  <div class="col-lg-6">
    <div class="input-group">
      <span class="input-group-addon">
        <input type="radio" aria-label="Radio button for following text input">
      </span>
      <input type="text" class="form-control" aria-label="Text input with radio button">
    </div>
  </div>
</div>
Conclusions
Basically this is the way the default radio buttons get identified and perform along within Bootstrap 4-- right now all you need are certain solutions for the site visitors to choose from.
Review some youtube video short training regarding Bootstrap Radio Button:
Related topics:
Bootstrap buttons approved documents
Bootstrap Radio button - article
Checkbox radio buttons break entire toolbar styling
